A digital designer walks into a print shop…
Stop me if you’ve heard this one before. There’s this designer who has primarily worked in web. She has some experience designing printed materials – business cards, mailers, banners for trade shows, etc. Well, she decides to get married also decides that a ‘fun’ project would be designing her wedding invitations.
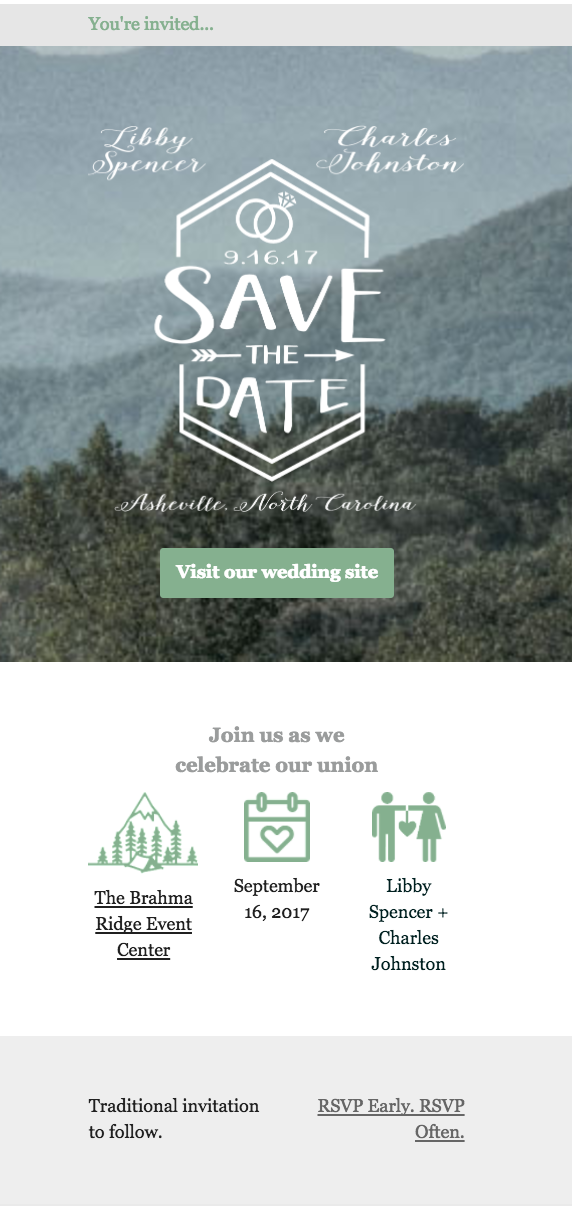
After some … interesting feedback on her + and her partner’s digital save the dates, she decides to design and print her invitations herself. Having never made a printed invitation before. Are you laughing yet? Me either.
Okay that lame set-up aside – this was a great learning experience. And the reason I’m deciding to share it here is because it gave me the chance to work through a design using tools I wasn’t as comfortable with.
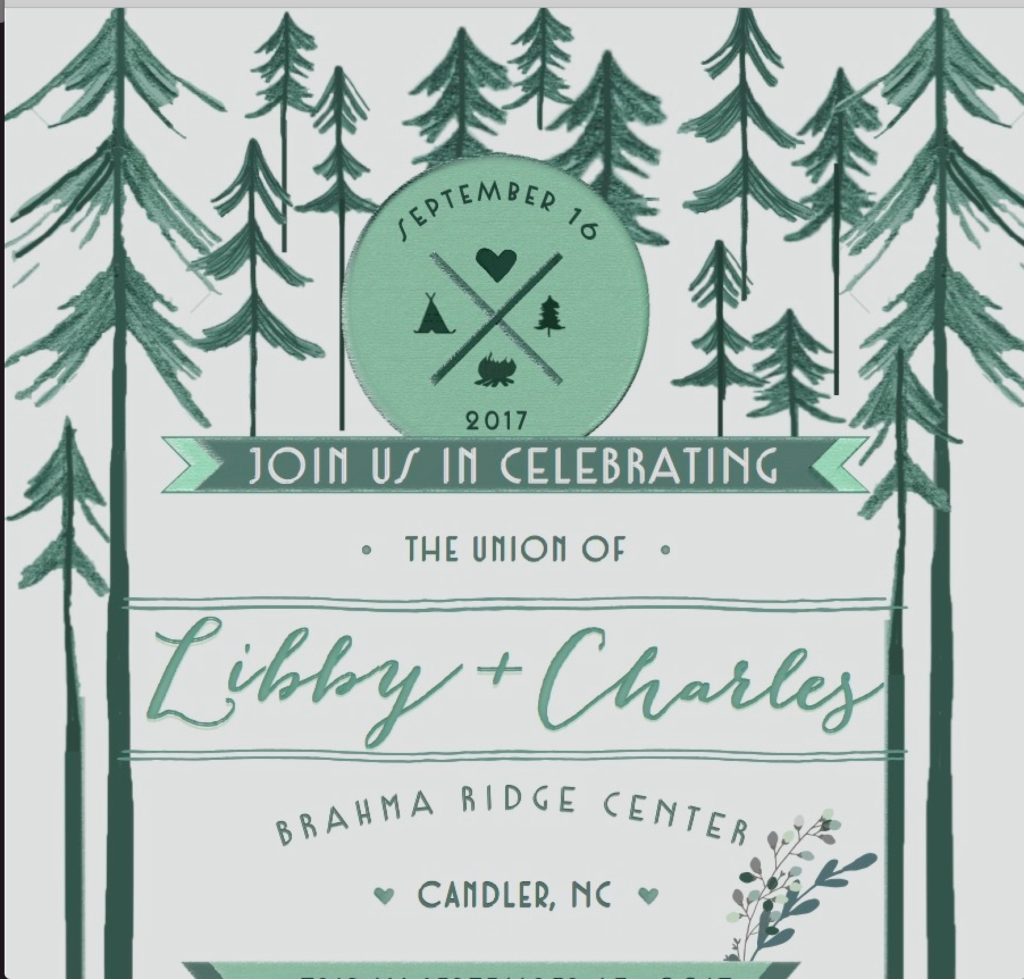
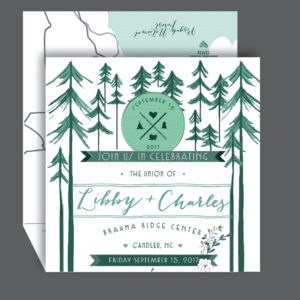
After sketching some ideas out I decided to do a three-panel ‘map’ of the weekend for my partner and I’s wedding this fall.

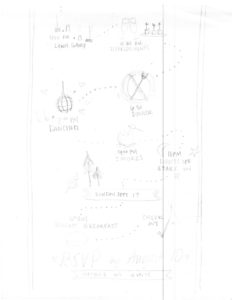
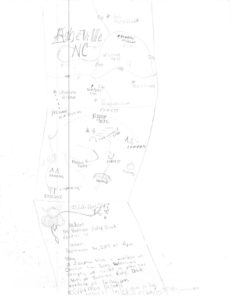
I then tried to create a mockup in Sketch, but quickly found the hand drawn feel I loved was hard to replicate. I have more familiarity with Photoshop but while researching various designs and templates I became surer and surer that Illustrator was my destiny.
 So I had to re-learn myself elements of Illustrator I hadn’t touched in years. It’s a powerful tool, but one that often feels clunky and frustrating to someone used to the upfront functionality of Sketch. Because this quick post isn’t intended to be a step-by-step tutorial (and because I’m not actually sure I could remember all the steps I went through) I won’t break it down much further than – I drew some stuff, I scanned some stuff, I edited some stuff and then I laid some stuff out.

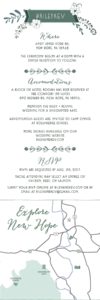
I am super happy with the final layout. Now all I had to do was get it printed. I already knew that the designers vision of how the final product will look and what the production team delivers can be tricky. But I was confident the hard part was over – HOW HARD COULD IT BE?
 Finding a printer who had the technical ability to deliver a 6×18 tri-fold front + back was something I didn’t really consider during my pinterest crazed decision to use the format. When I finally found a service that supported the format they required the upload be in done in 6×6 squares. Instead of uploading the front and back of my invitation I was supposed to upload 6 6×6 squares. And the format had to be a tif? and there were no website instructions for optimizing files for upload.
After about 1000 emails back and forth with tech support (Shoutout to Trevor! We did it!) I was given the option to wait a week to view a physical proof or to order and hope for the best. We were short on time so I approved the online proof and submitted the rush order.
A week later the invitations arrived. There were a few issues where ink was dropped from the design but overall they looked good and the colors were strong. I added a ‘handwritten’ touch to correct the ink droppage and was ready to stuff the pre-printed envelopes. EXCEPT FOR THE FACT THAT TREVOR SOMEHOW DROPPED THE PRE-PRINTED ENVELOPES FROM THE ORDER!
My lovely partner took over pre-printing labels and envelopes which ended up adding about a week to our delivery schedule, but helped me maintain my sanity.
So, how was this relevant to my work as a UX Designer? Probably tangentially at best. But how’s this? I began by researching the costs of the project, talking to the stakeholders, defining the parameters and then started sketching and ideating. Because of time constraints I had to send the high-fidelity prototype to the the development team without testing. The final results weren’t perfect but my teammate and I delivered the product to the intended users who had great feedback (my Mom loves it).
Please share your thoughts on my design, tips for Illustrator work flows, or actual jokes.
0 comments